
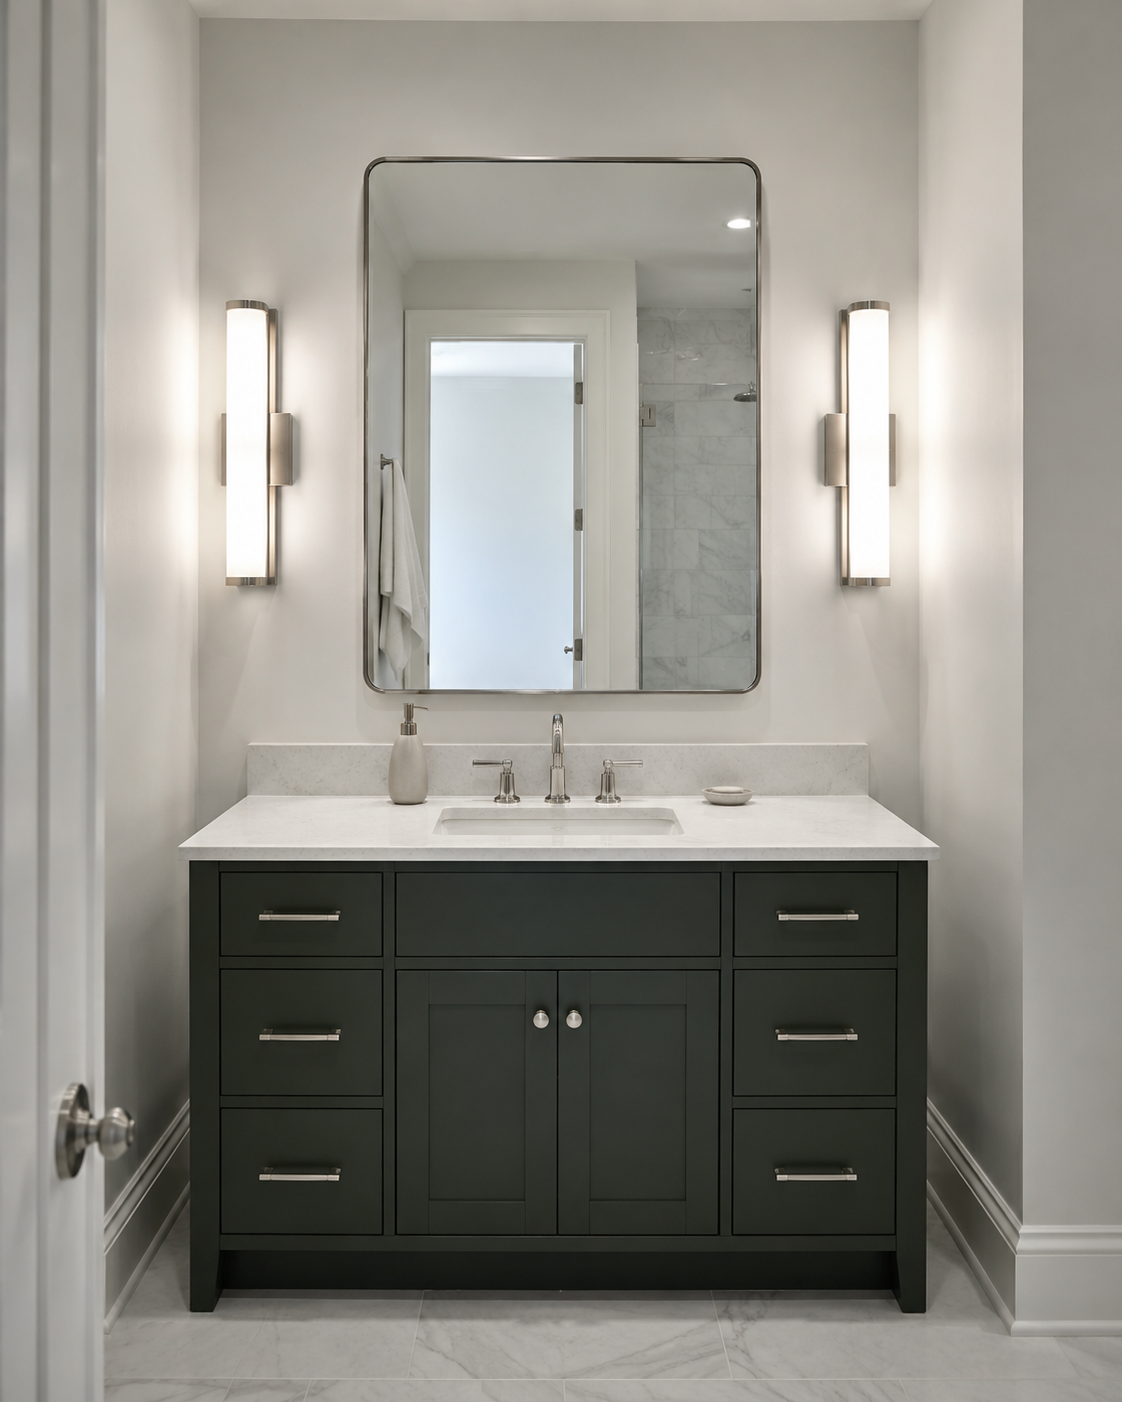
Route A
Balanced Side Pair
The strongest route when facial clarity is the priority and the wall has enough room beside the mirror.
Fix the light around the routine first—then add the room, shower and after-dark layers that make the bathroom work as one system.
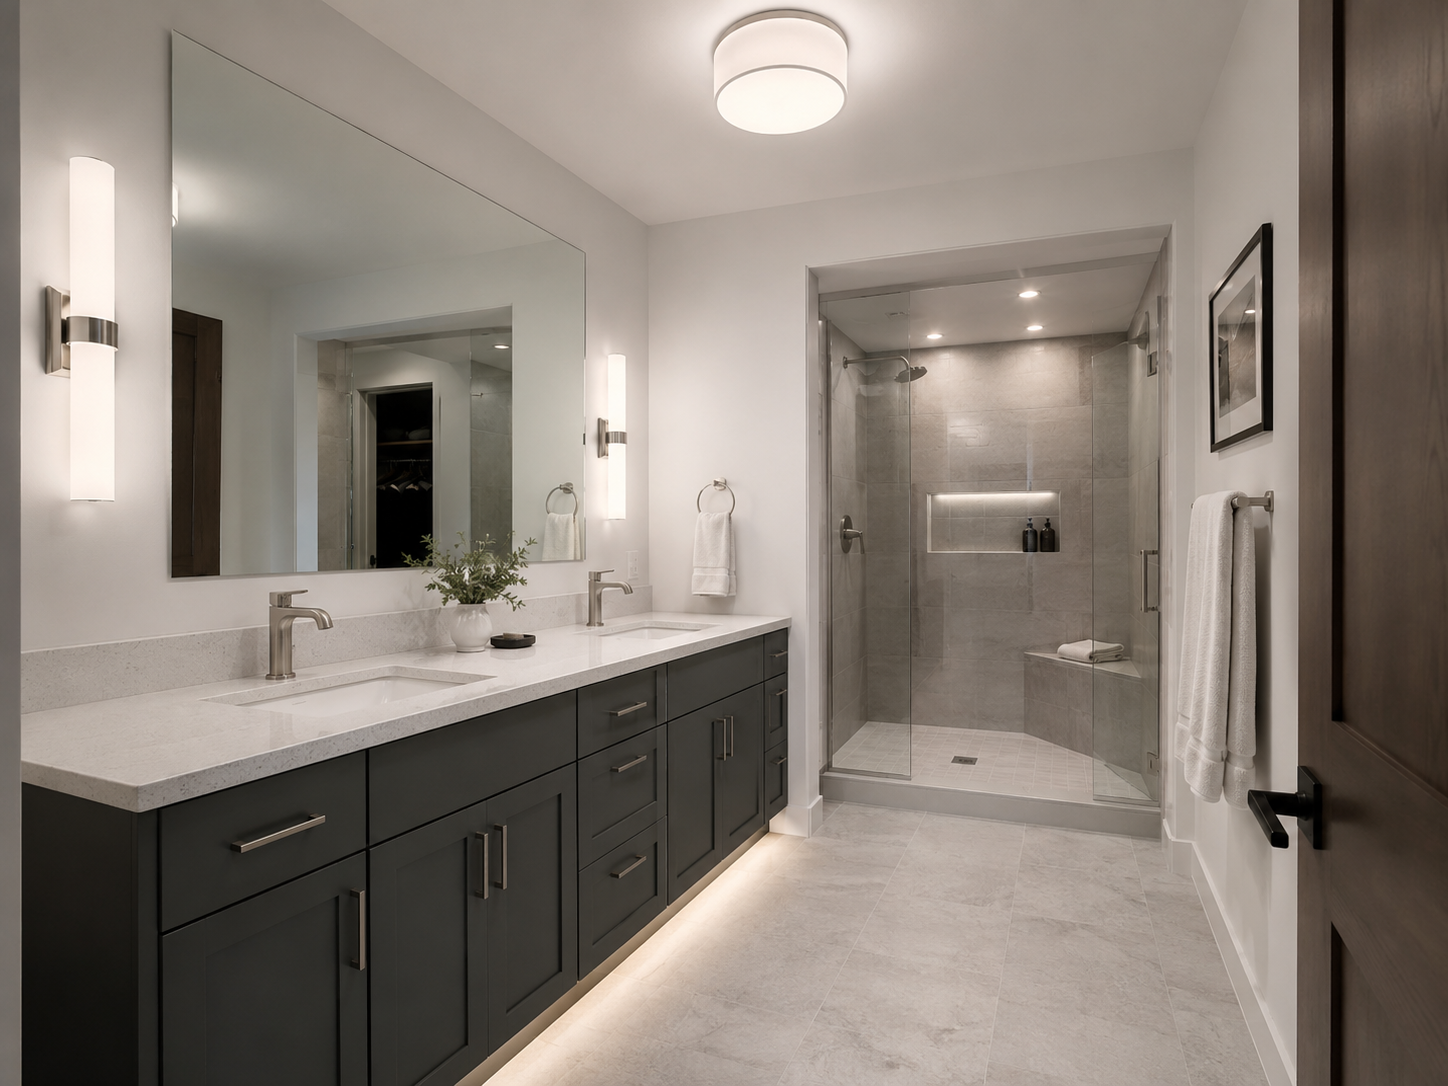
Choose the symptom closest to your bathroom. The first fix is usually more specific than simply adding another fixture.
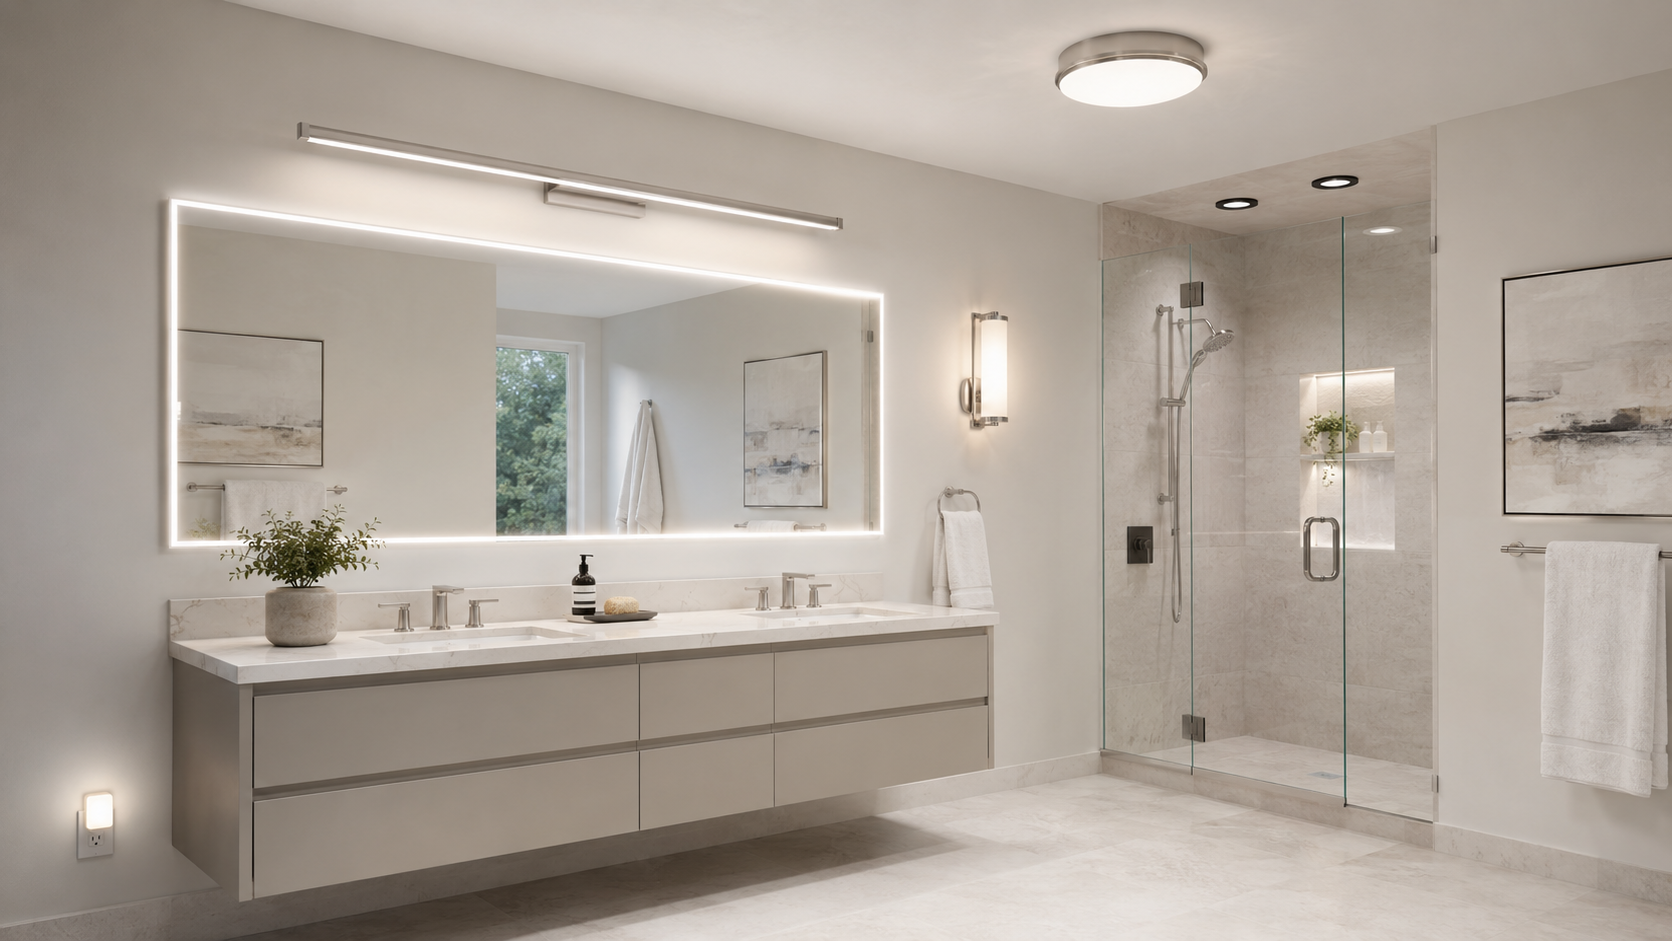
Too much light is arriving from above while the sides of the face receive too little useful illumination.
Improve the mirror zone with controlled, diffused light closer to face level.
Mirror width, wall clearance, fixture scale and the color quality of the light source.
The vanity fixture is being asked to illuminate the entire bathroom.
Add restrained ambient ceiling light that fills the room without competing with the mirror zone.
Diffusion, ceiling height, dimmer compatibility and whether the new layer creates glare in the mirror.
General bathroom lighting is not reaching the shower zone effectively.
Use a fixture specifically suitable for the intended wet location instead of assuming any bathroom light will work.
Location rating, installation requirements, ceiling construction and manufacturer instructions.
The bathroom has only two states: completely dark or fully illuminated.
Create a dimmed or lower-output route that lets you navigate without firing every task light at full brightness.
Dimmer compatibility and whether the chosen fixture remains stable at low output.
One room can have more than one problem. Fix the highest-impact zone first rather than replacing everything at once.
The mirror zone deserves its own lighting geometry. Ceiling light alone often leaves the most useful area of the bathroom poorly served.
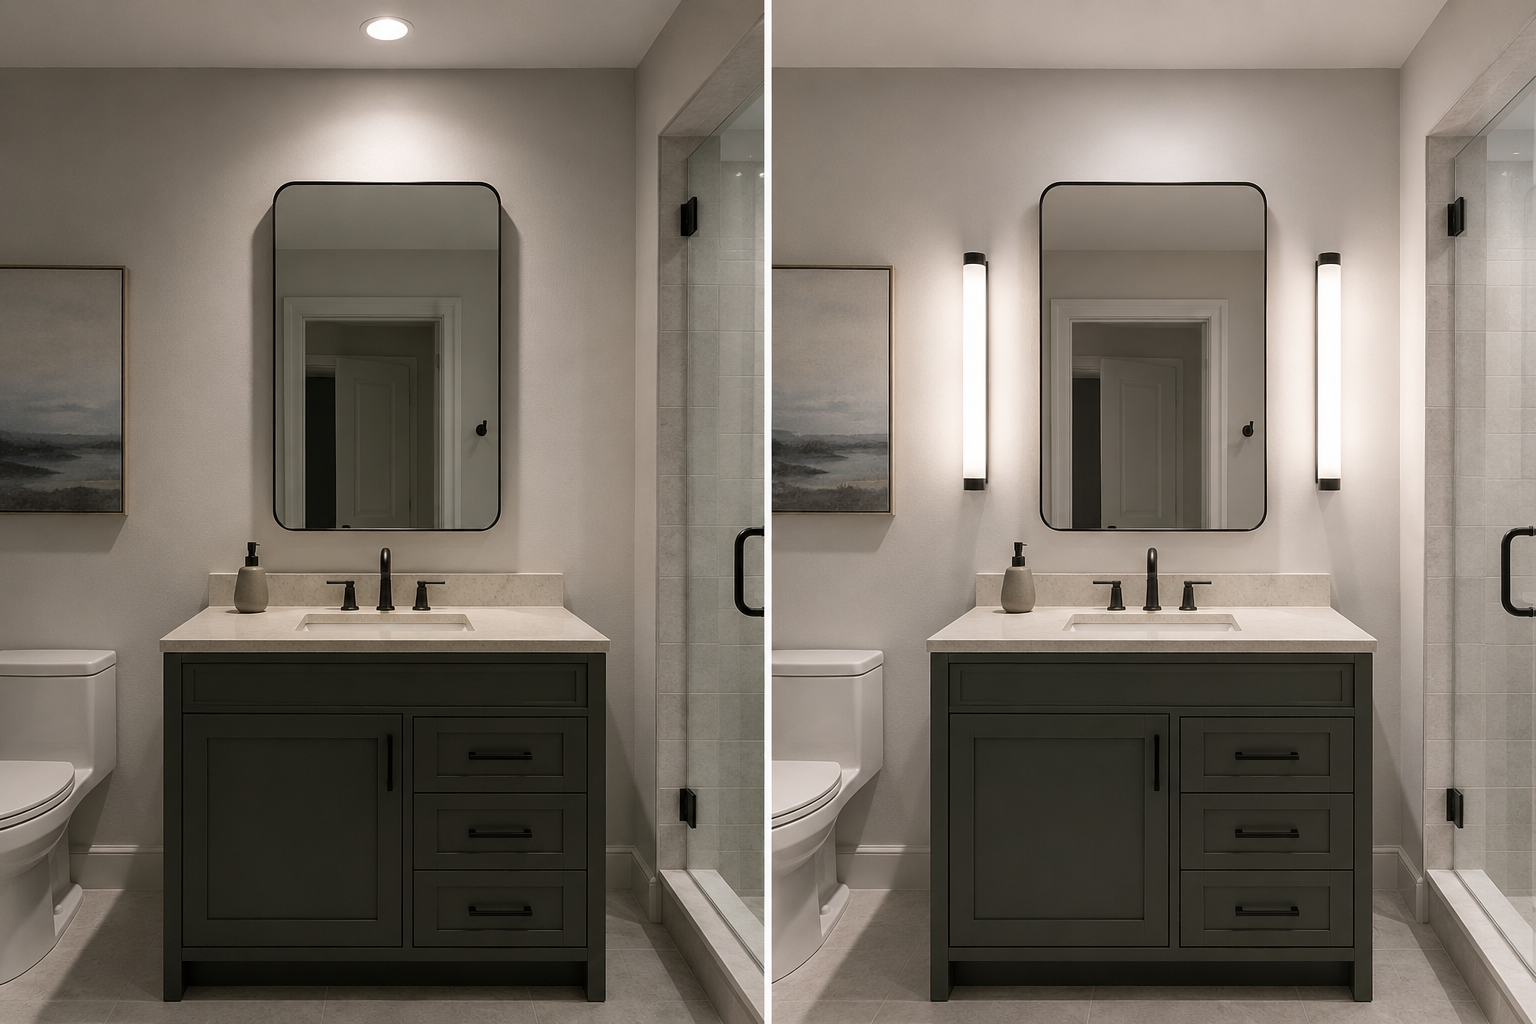
Side illumination can reduce the heavy top-down shadow created by ceiling-dominant lighting.
Diffused glass or a well-designed LED source usually feels more comfortable near the mirror than exposed glare.
Fixture width, side clearance and mounting position should look intentional—not squeezed in after the mirror is installed.
None is universally right. Choose the geometry that fits your mirror, wall width and existing electrical position.
The strongest route when facial clarity is the priority and the wall has enough room beside the mirror.
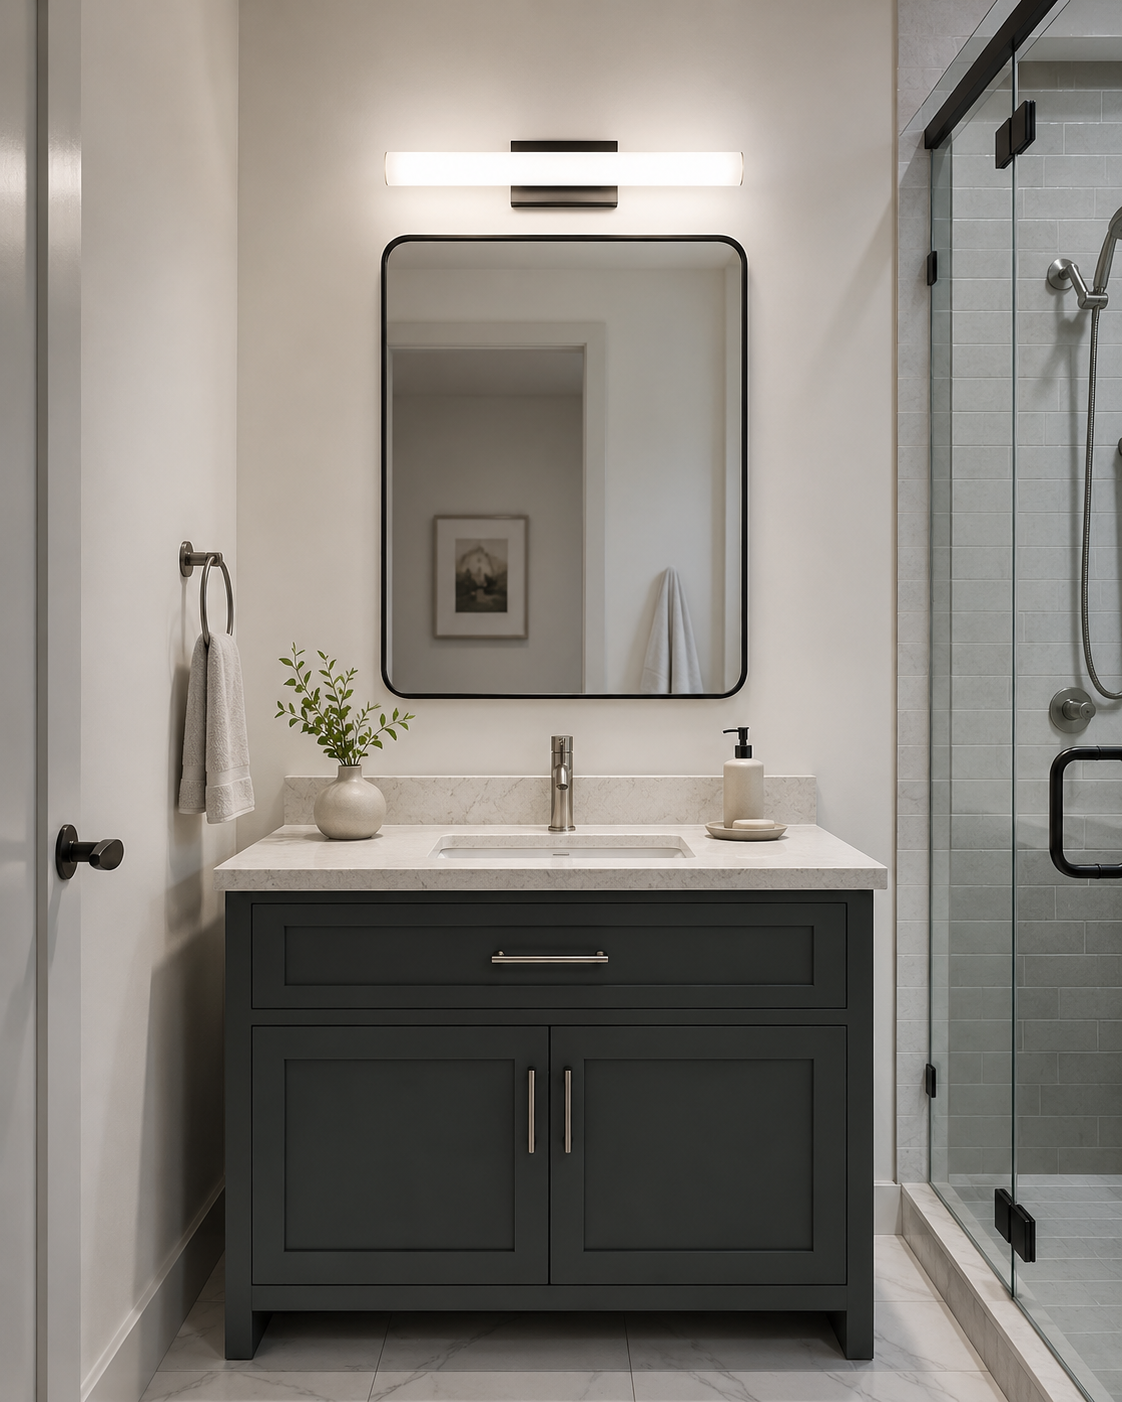
A practical solution when the existing junction box is already centered above the mirror.
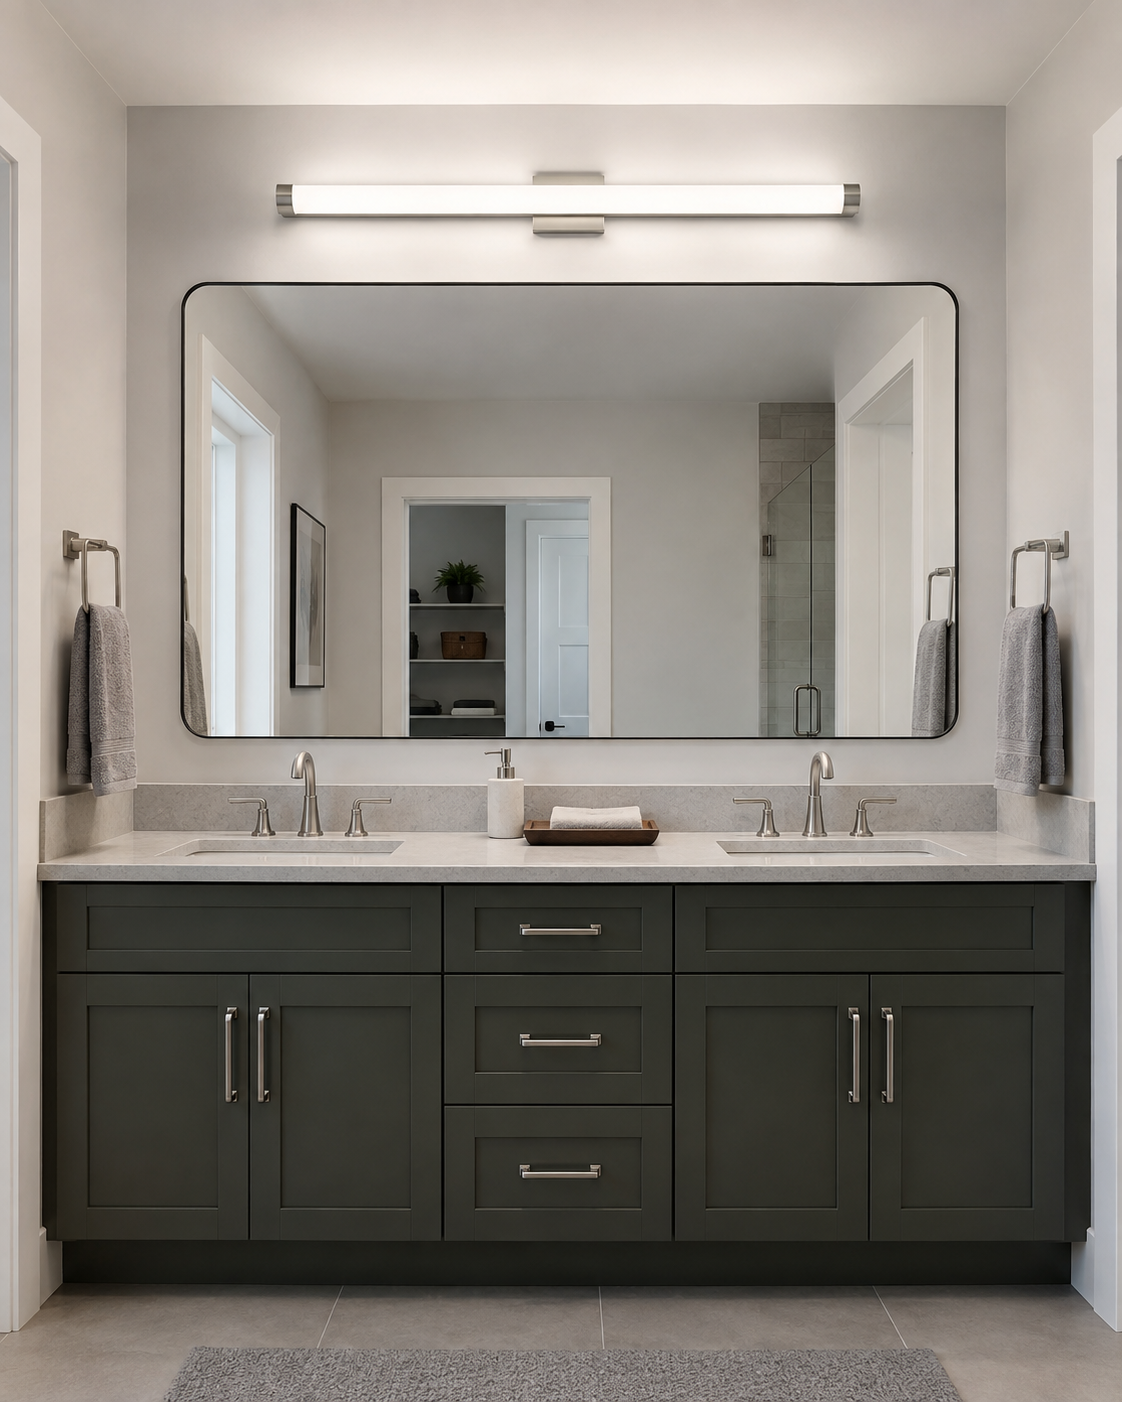
Useful across broader mirrors and double vanities where one compact fixture leaves the outer zones weak.
Use a restrained ceiling layer to distribute light through the room instead of asking the vanity fixture to do everything.
Give the shower its own appropriate source when necessary—and verify the actual location listing before purchase.
Build a lower-output state with compatible controls instead of switching the whole bathroom to full brightness overnight.
Not ten versions of the same idea. Each recommendation earns its place by solving a different lighting or installation situation.
Best for: a polished all-round vanity fixture when you want softened light and an established lighting brand.
Check first: fixture width against your mirror and the position of the existing wall box.
Best for: building a balanced pair beside the mirror without relying on one central vanity bar.
Check first: wall width, vertical mounting height and whether two electrical positions are practical.
Best for: smaller vanity walls where the fixture still needs enough visual character to finish the mirror zone.
Check first: whether the mixed finish works with the faucet, mirror frame and nearby hardware.
Best for: bathrooms that need a softer mid-century note without turning the fixture into the whole room's focal point.
Check first: globe depth, mirror clearance and whether the profile feels proportional from the doorway.
Best for: large mirrors and double-vanity walls where a compact fixture visually disappears.
Check first: actual mirror and vanity width before assuming the larger fixture is appropriate.
Best for: a more architectural vertical-sconce route beside the mirror.
Check first: listing finish, wall clearance and whether the selected Amazon offer is the intended Facet configuration.
Best for: softened general room light that supports the vanity instead of trying to replace it.
Check first: ceiling height, fixture projection and dimmer compatibility for the selected lamps.
Best for: a dedicated shower/downlight route where the selected configuration is appropriate for the intended location.
Check first: exact listing, ceiling opening, electrical installation and location rating.
Best for: visitors comparing another recessed route for the shower or moisture-exposed ceiling zone.
Check first: the exact listing's location rating, cutout requirements and compatible dimming setup.
Best for: making a compatible lighting layer useful at more than one brightness level.
Check first: LED, lamp or integrated-driver compatibility before installation.
Instead of treating every switch as full-output lighting, build useful combinations around what you are actually doing.
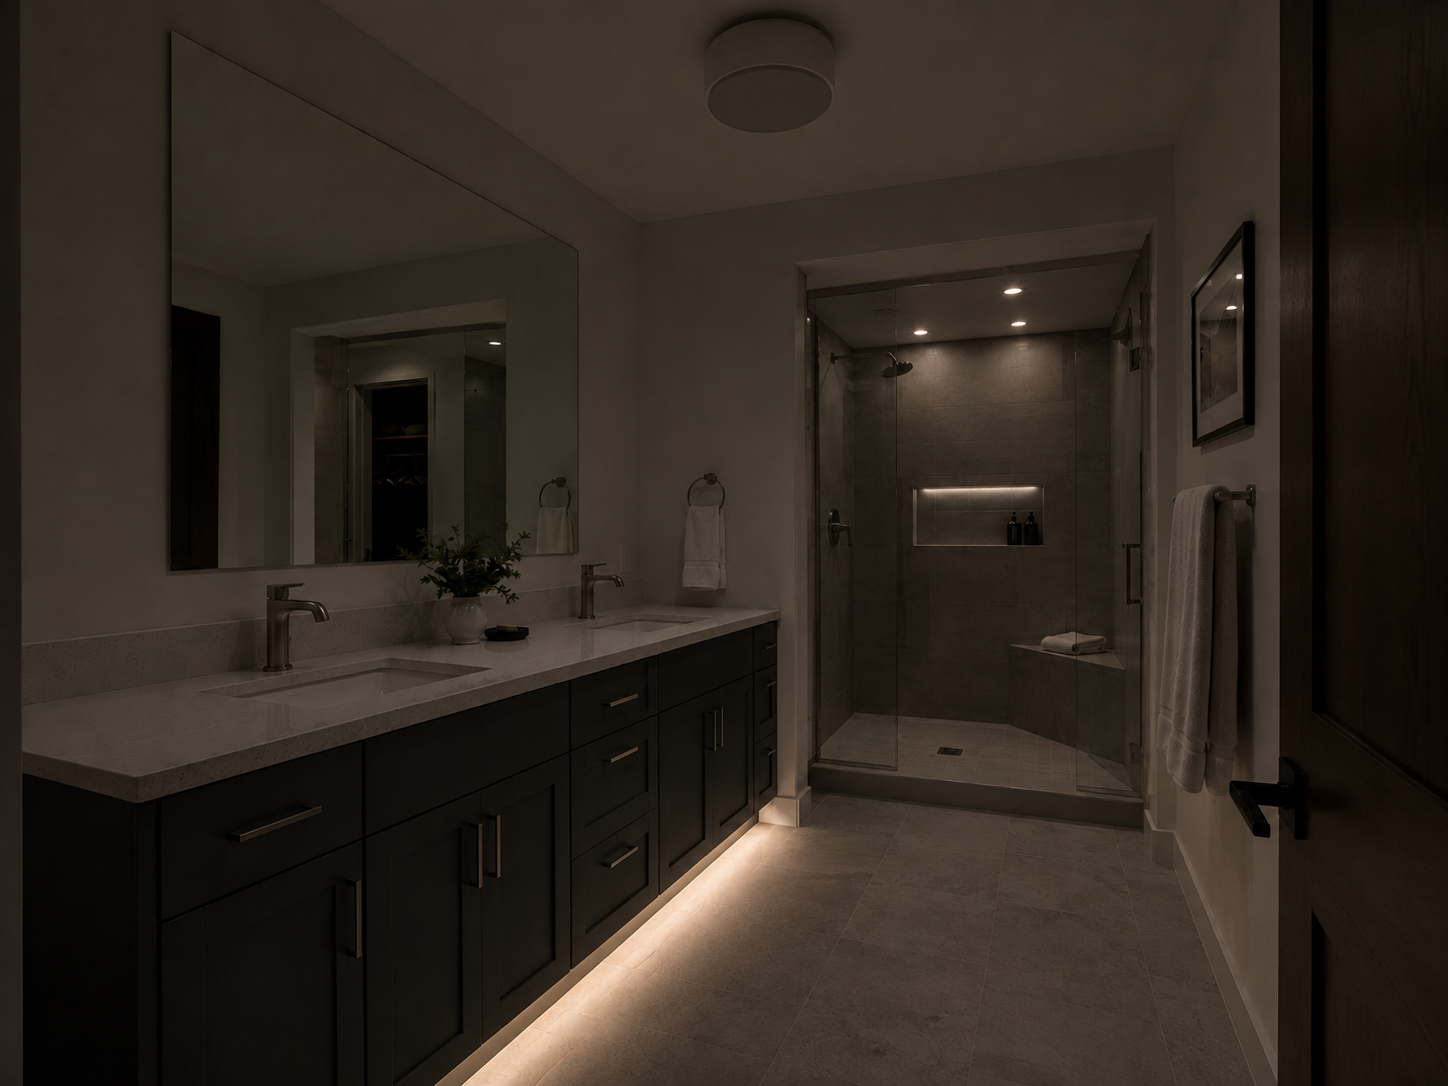
Let the mirror/task layer lead. Add only enough room light to keep the background comfortable and usable.
Combine moderate vanity light with soft ambient fill so neither layer has to work at maximum output.
Use the lowest practical layer or compatible dimming instead of waking the entire bathroom at full intensity.
Useful when a compatible bulb-based fixture would benefit from adjustable white-light tone and app-based control.
See White-Light OptionsA sensible route when the fixture itself works but the existing vanity bulbs are the weakest part of the setup.
See Vanity Bulb OptionsThe highest-priced fixture is not automatically the smartest purchase. Prioritize the parts that affect daily use or require real installation work.
Measurements and compatibility can prevent a beautiful fixture from becoming the wrong purchase.