
Compact Fixed Hanging Rail
Check first: Wall span, mounting guidance and hanger clearance.
Explore Option ↗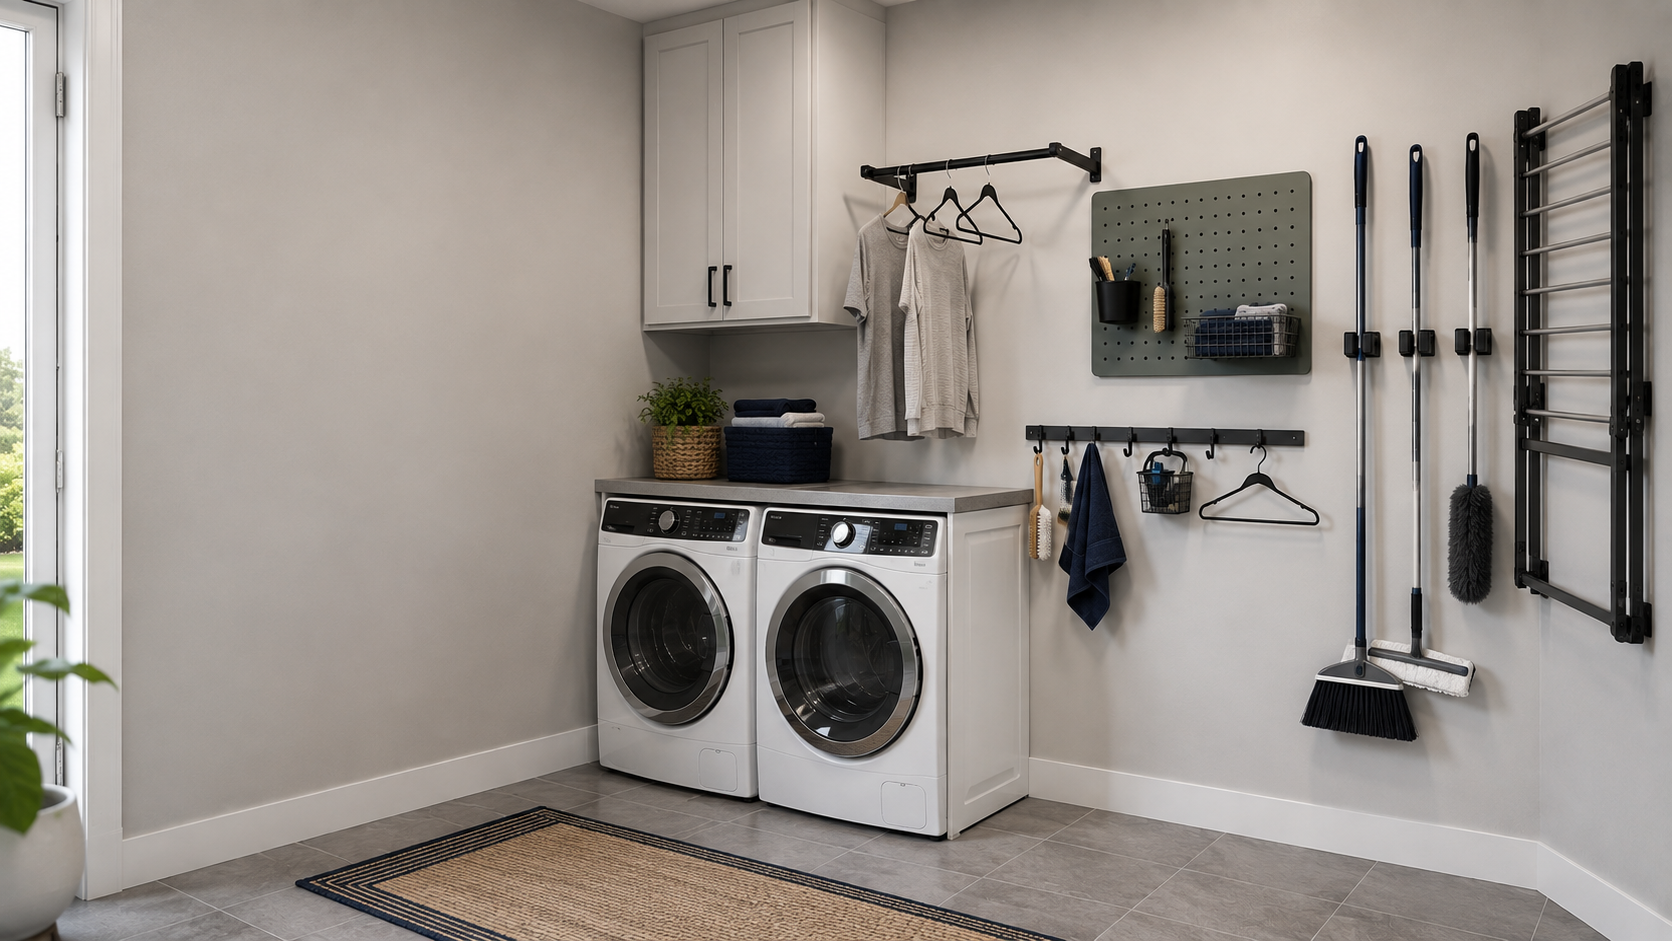
The Wall Job Map
Move brooms, hangers and drying off the floor—without creating a new clearance problem.
Choose the job first. Then compare the right wall form.
01 · Choose the wall job
Pick the behavior first: hang, clip, rail or board. The room view and product starting points change with your choice.
Tap a job. The room, rule and starting products change.
As an Amazon Associate, Ravnora Decor may earn from qualifying purchases. Product links may open on Amazon.
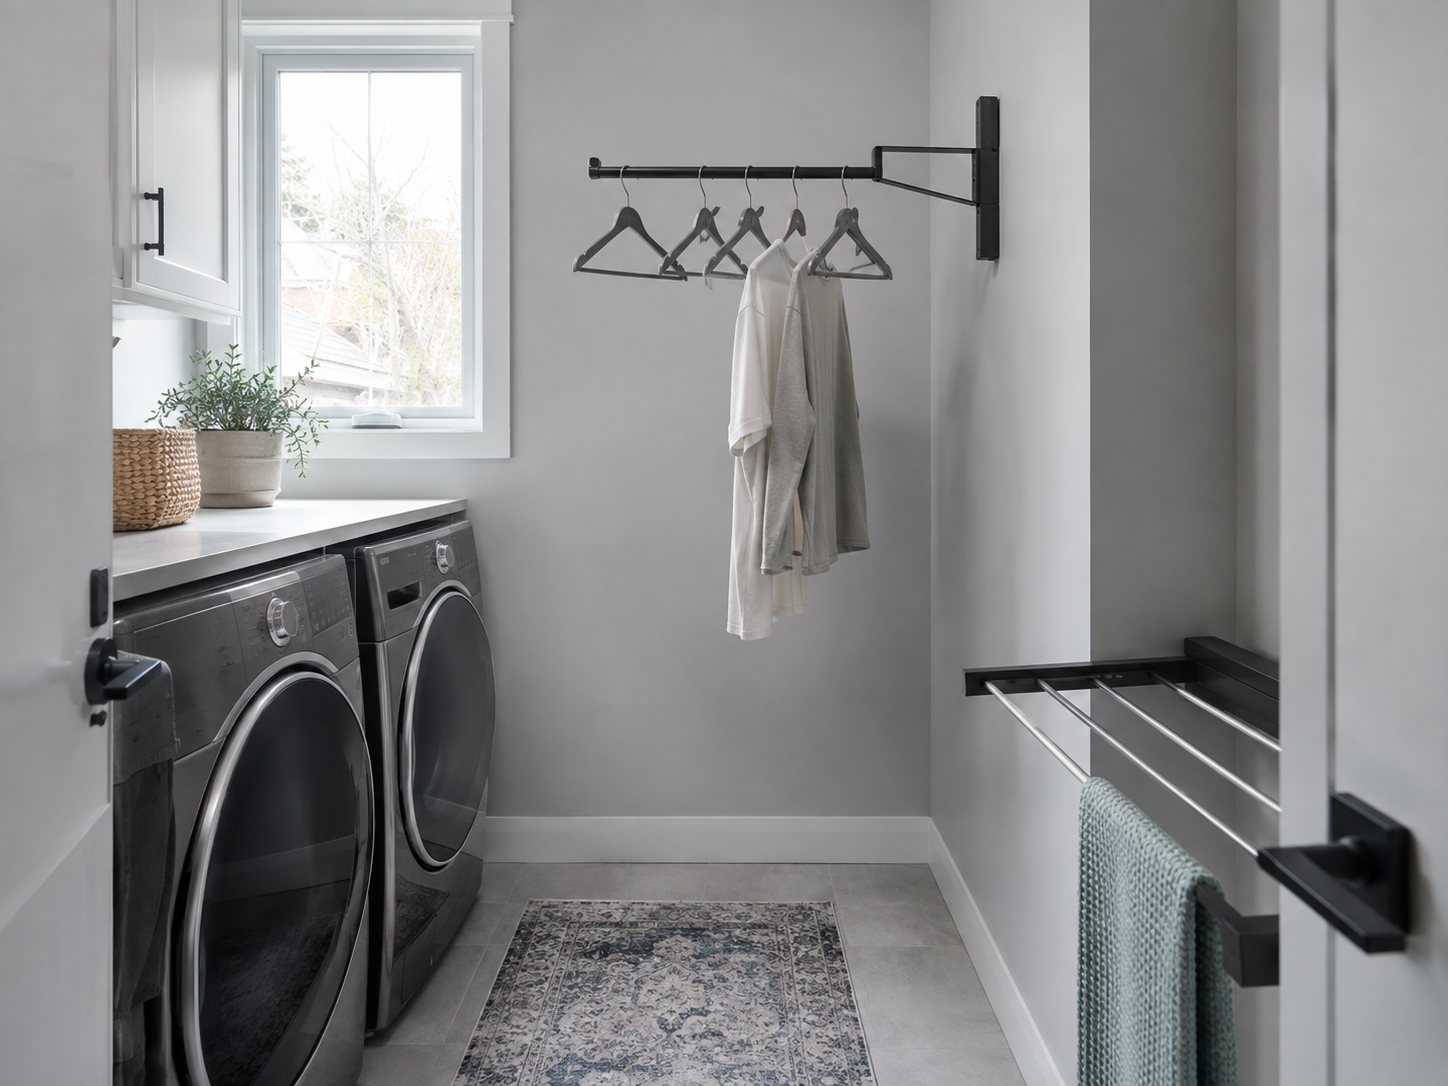
A hanging function makes sense when garments or empty hangers keep migrating to appliance tops, handles or counters.
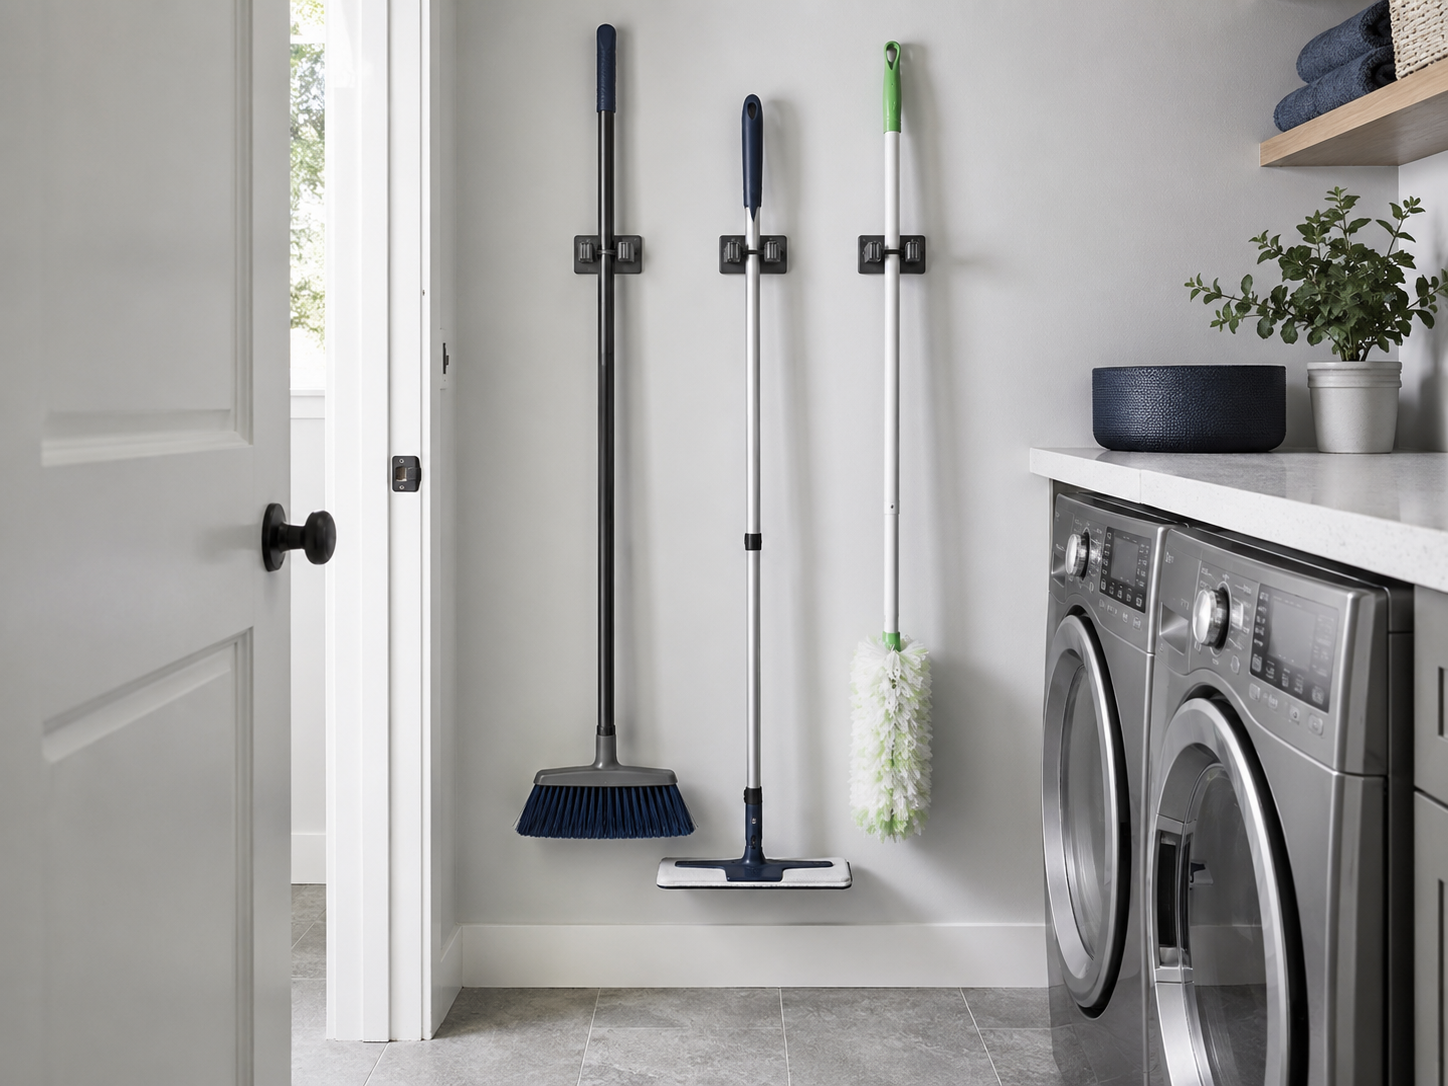
Grip-style storage earns the wall when the handle can be secured without stealing floor space or interfering with the doorway.
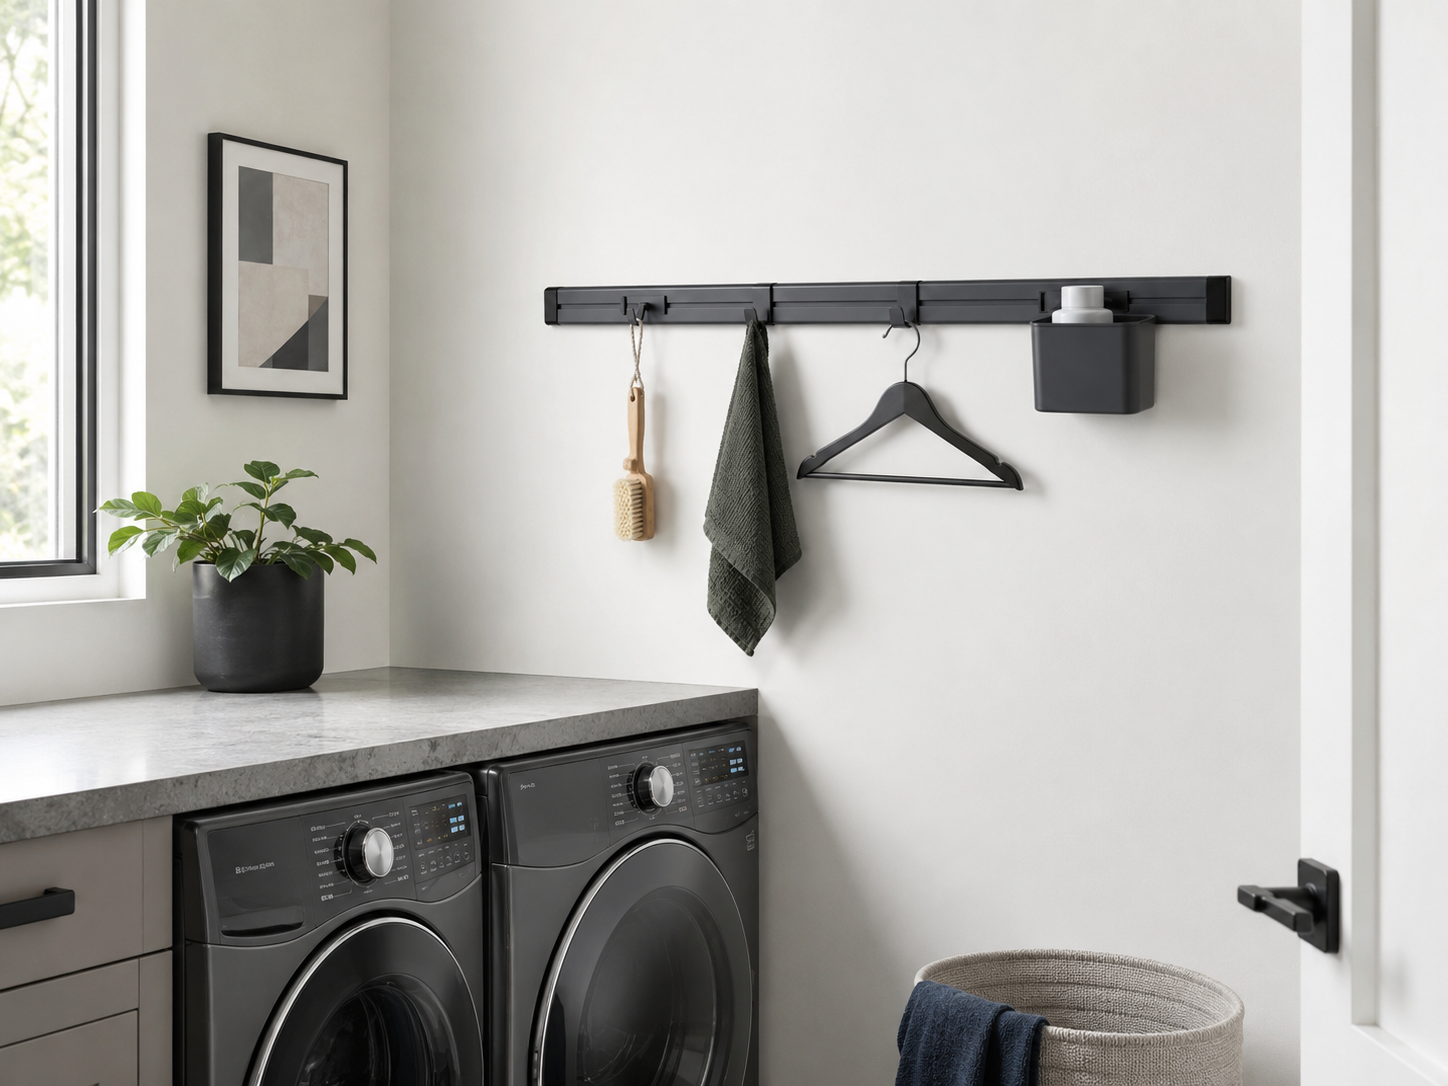
A rail creates a clearer visual system when multiple lightweight functions belong in the same reach zone.
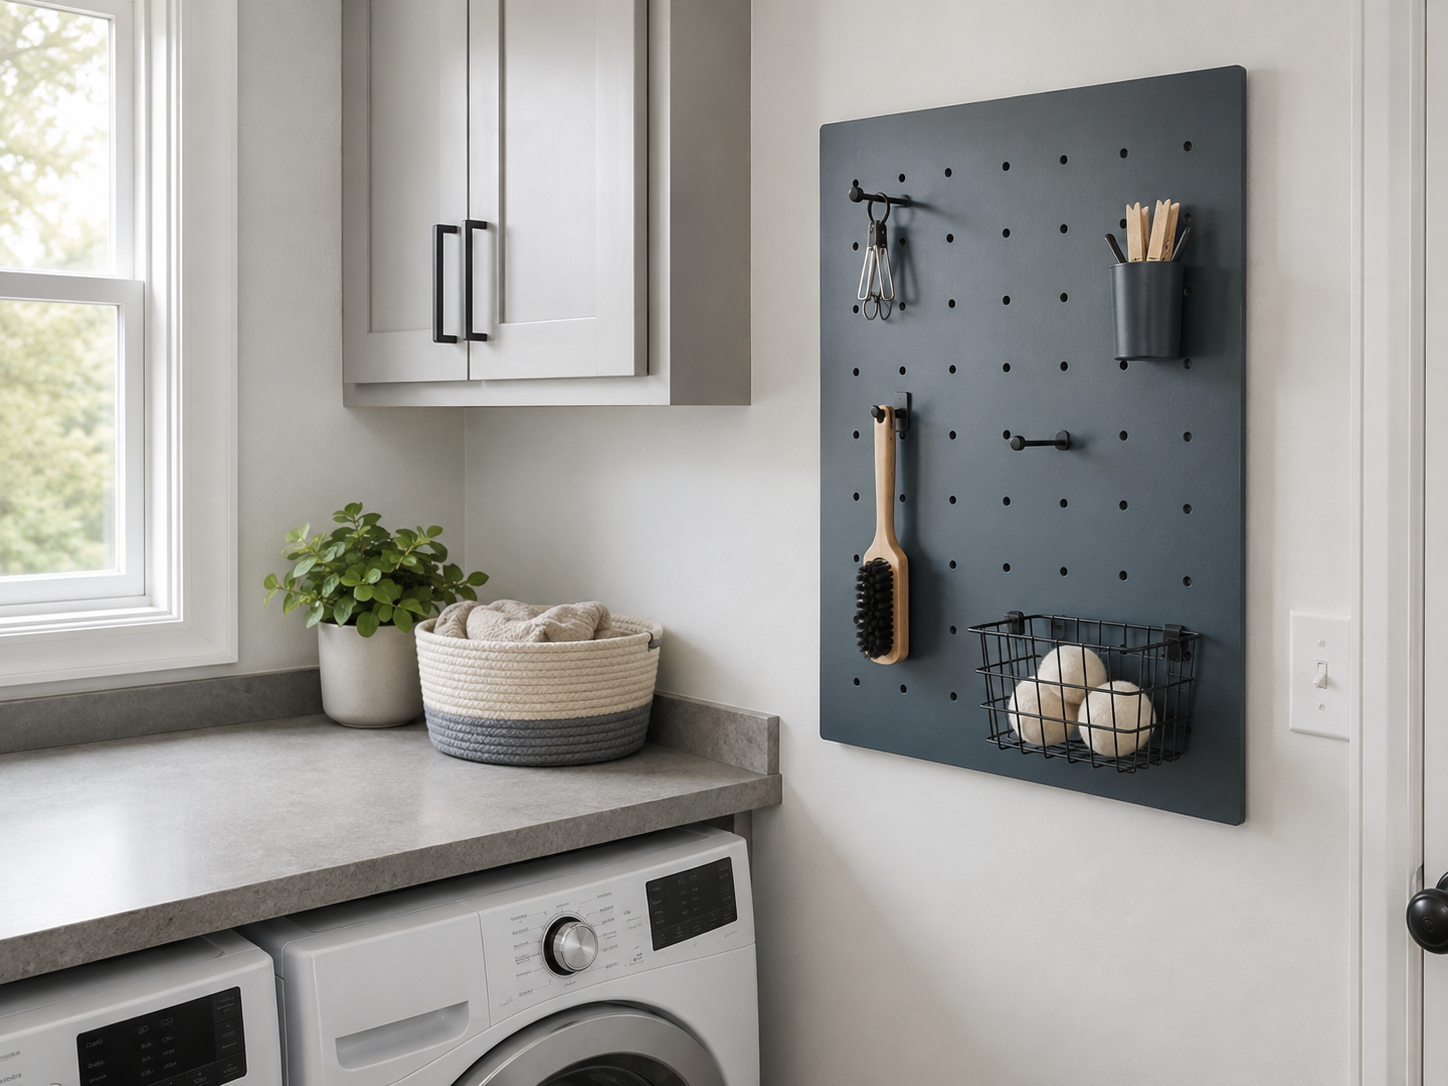
Boards make sense for small accessories that benefit from visible access and occasional reconfiguration.
02 · Clearance sweep
The wall footprint is only half the story. Anything that swings, folds or extends also occupies working space.
Fixed wall state
For hardware that stays close to the wall, focus on mounting guidance, reach, nearby controls and whether the stored item itself projects into the work zone.
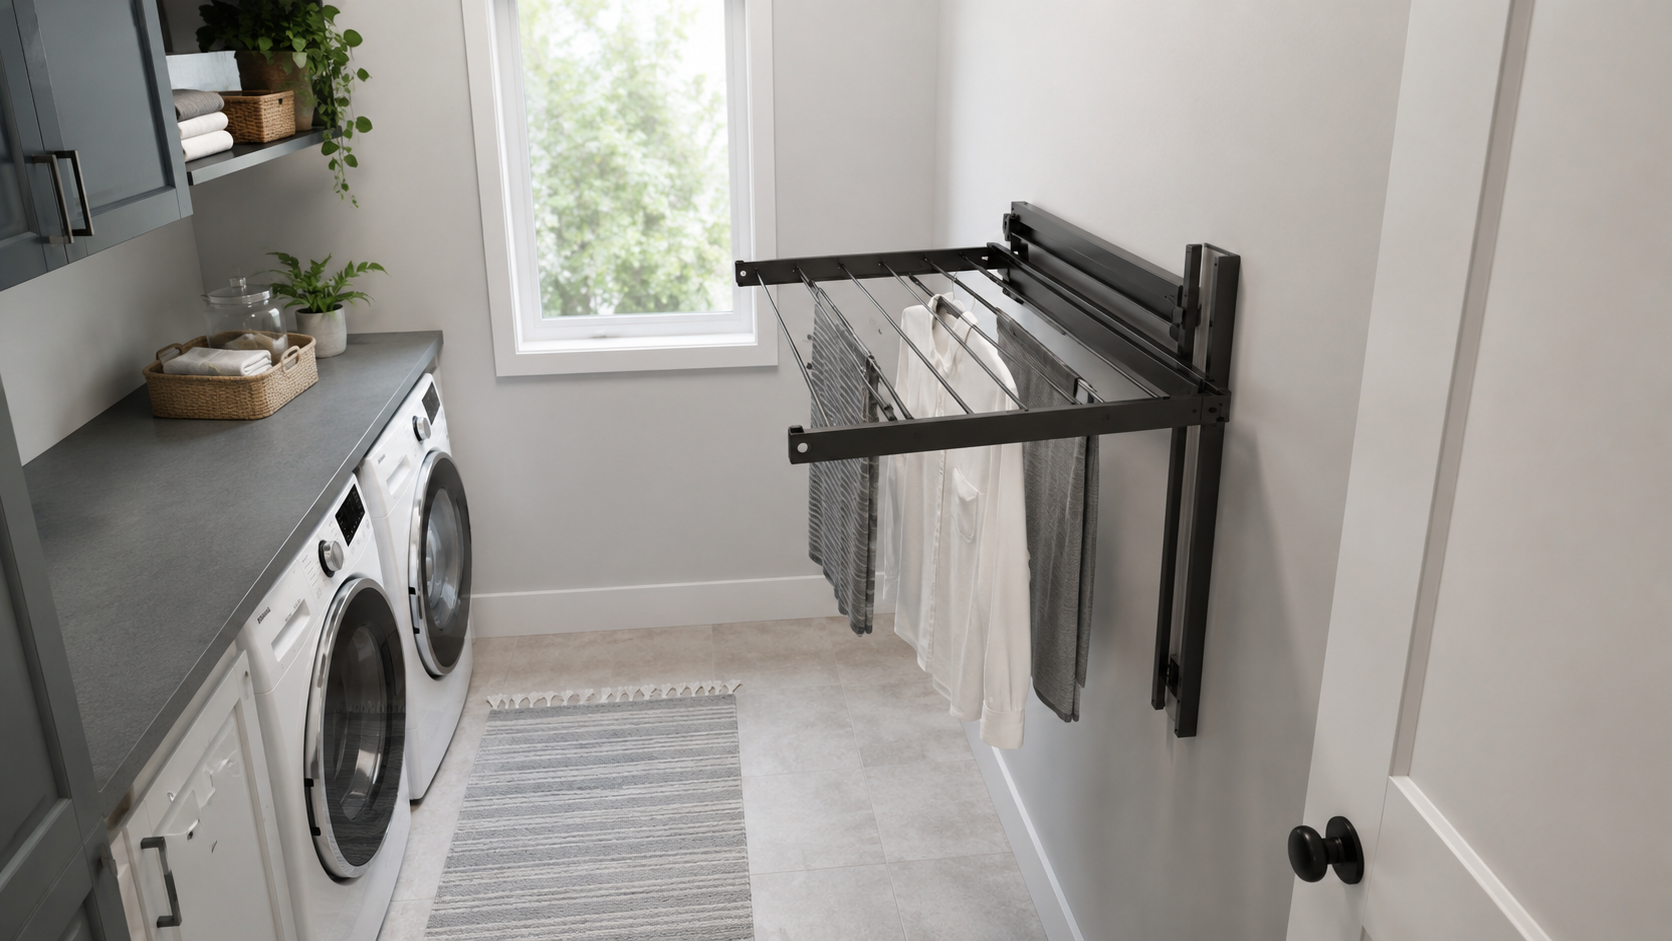
Moving wall state
Judge the product in its working position. Protect appliance doors, room-door swing, controls and the path you actually use while carrying laundry.
03 · Route one
Use a rail when several lightweight functions belong in one orderly horizontal zone instead of becoming a scatter of separate hooks.
Check first: Wall span, mounting guidance and hanger clearance.
Explore Option ↗Check first: Overall projection, mounting and the clearance below the rail.
See Details ↗Check first: Continuous wall span, mounting instructions and nearby doors.
Explore Option ↗04 · Route two
The improvement is not another storage object. It is a clear floor line and a reliable vertical parking place.
Before
Handles drift, tool heads occupy floor space and the doorway becomes the storage system.
Check first: Intended handle fit and installation guidance.
Check Fit ↗Check first: Handle profile, mounting method and nearby door swing.
Explore Option ↗Check first: Tool-handle fit and the spacing needed between tool heads.
Check Fit ↗Check first: Intended item fit and current mounting instructions.
See Details ↗05 · Route three
The strongest wall-drying choice is not only useful when open. It also returns the room to a clear state when the load is finished.
Check first: Full installed size, open projection and mounting guidance.
Explore Option ↗Check first: Open working depth, appliance doors and room-door swing.
Check Working Space ↗Check first: Working projection, hanger drop and mounting instructions.
See Details ↗06 · Choose the form
Start with what the wall must hold and how often the arrangement may change.
Check first: Panel dimensions, mounting guidance and accessory fit.
Explore Option ↗Check first: Current kit contents, panel size and mounting instructions.
See Details ↗Check first: Wall span, mounting guidance and clearance beneath.
Explore Option ↗Check first: Continuous wall span and working clearance.
See Details ↗Check first: Intended item, wall substrate and mounting instructions.
Explore Option ↗Check first: Wall material and current fastener guidance.
See Details ↗Check first: Basket projection, mounting guidance and intended contents.
Explore Option ↗Check first: Installed depth, wall span and mounting instructions.
See Details ↗07 · Working bands
The best wall position depends on how often the item is used, how far it hangs down and what must stay clear around it.
Regularly handled items deserve an easy return path without forcing awkward reaching or covering appliance controls.
Less-used lightweight tools can occupy less-prime wall space when the product’s mounting guidance and room layout support it.
Brooms and mops need uninterrupted vertical room below the gripping point so heads do not fight the floor, machines or nearby doors.
08 · Curated wall edit
Eight useful starting points, filtered by the wall job they execute.
Best when: drying needs to leave the floor when the load is finished.
Check first: full open projection and appliance clearance.
Explore Option ↗Best when: one object needs one permanent landing point.
Check first: wall material and mounting guidance.
See Details ↗Best when: several long tools need one grouped wall zone.
Check first: intended handle fit and spacing.
Check Fit ↗Best when: separate tools need different wall positions.
Check first: handle fit and tool-head clearance.
Explore Option ↗Best when: a simple hanging line is enough.
Check first: wall span and hanger drop.
Explore Option ↗Best when: one wall zone needs both a small landing surface and hanging function.
Check first: depth, mounting and controls below.
See Details ↗Best when: small accessories need both visibility and containment.
Check first: current kit contents and mounting instructions.
Explore Option ↗Best when: the board itself should stay visually simple and adaptable.
Check first: panel size, accessories and installation guidance.
See Details ↗09 · Pre-mount gate
Five checks turn a promising wall product into a room-specific decision.
Confirm the current listing’s mounting method and instructions against the wall you actually plan to use. Do not assume the same fastener works for every wall construction.
10 · Precision retrieval
All 25 products, organized by the exact wall form you now understand. Open only the family you need.
Each expanded family scrolls horizontally. On mobile, the next card remains partially visible as a cue to swipe.
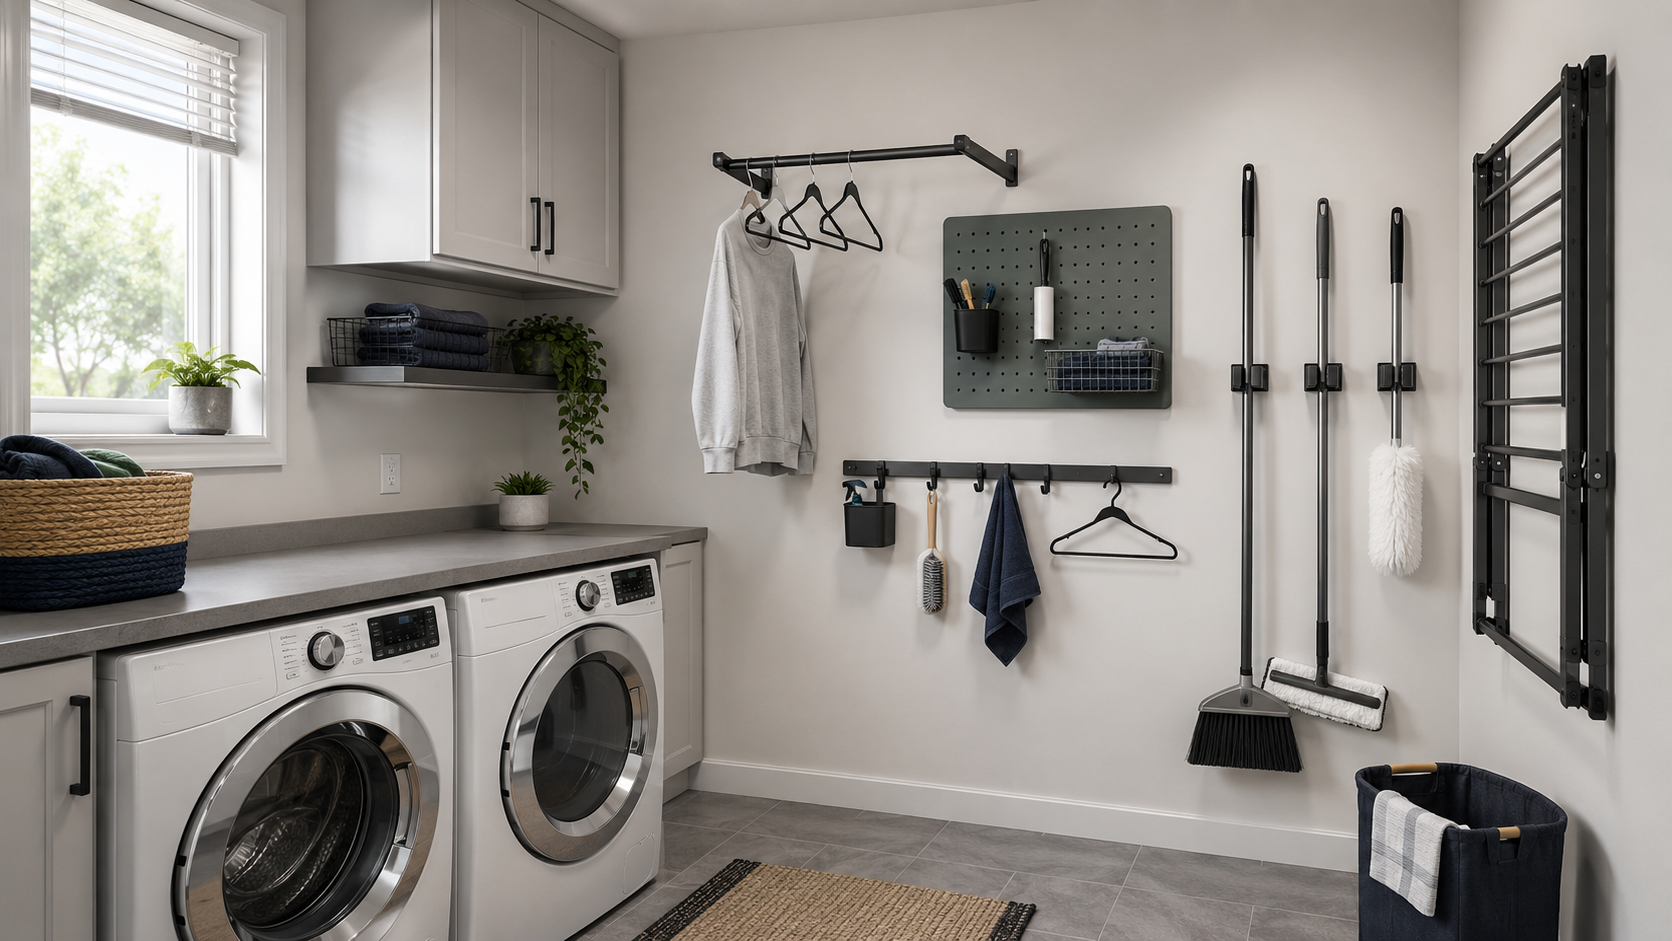
11 · Continue the room
Once the wall has a job, solve the next piece of friction instead of adding more hardware to the same surface.